Personalities
1. Shaker-Style Door
The Shaker-style door front is so popular now due to its versatility. It can be used in modern, transitional, or country kitchens, depending on the material, finish, and hardware. This is the one you will see most often. The look can change drastically, depending upon the color or material used.
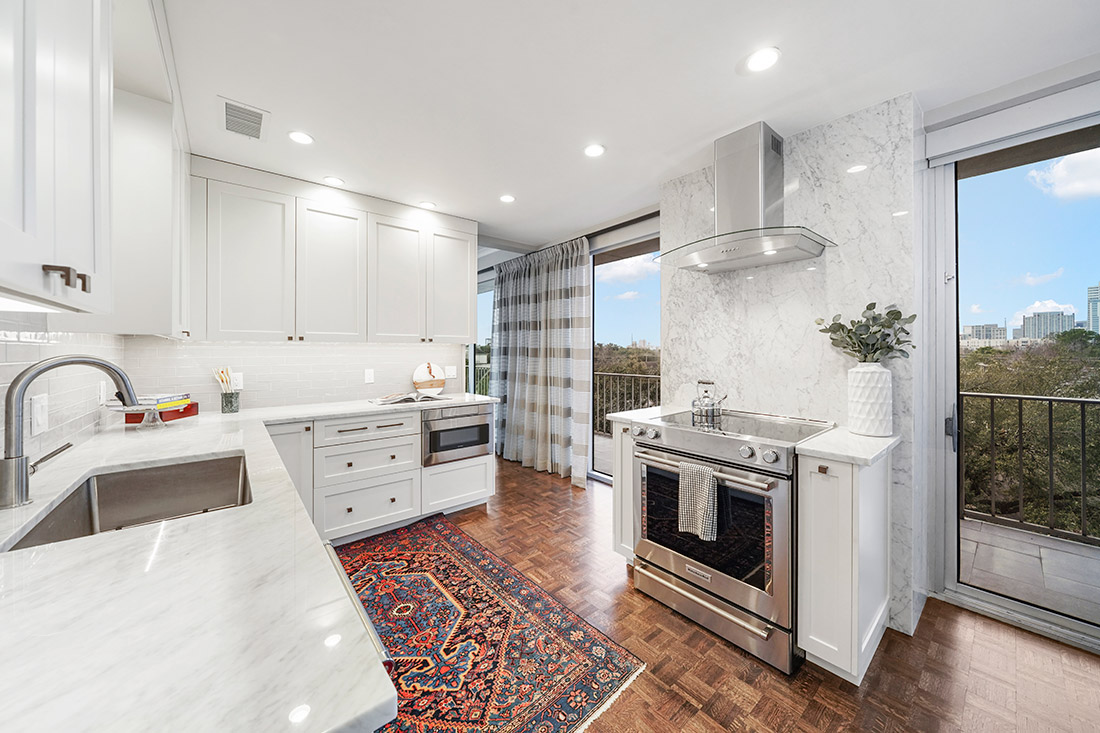
2. Glass Front
Use multiple glass front cabinets if you have lovely pieces you want to show off or a matching set of dishware to display. The grid is classic, but depending on the type of glass or mullion placement you use, the look can be dramatically different. Remember that you can mix and match these fronts. I like them near a sink or an area where I want to lighten it up. Below is a great example of how we used both in a kitchen to help open it up.
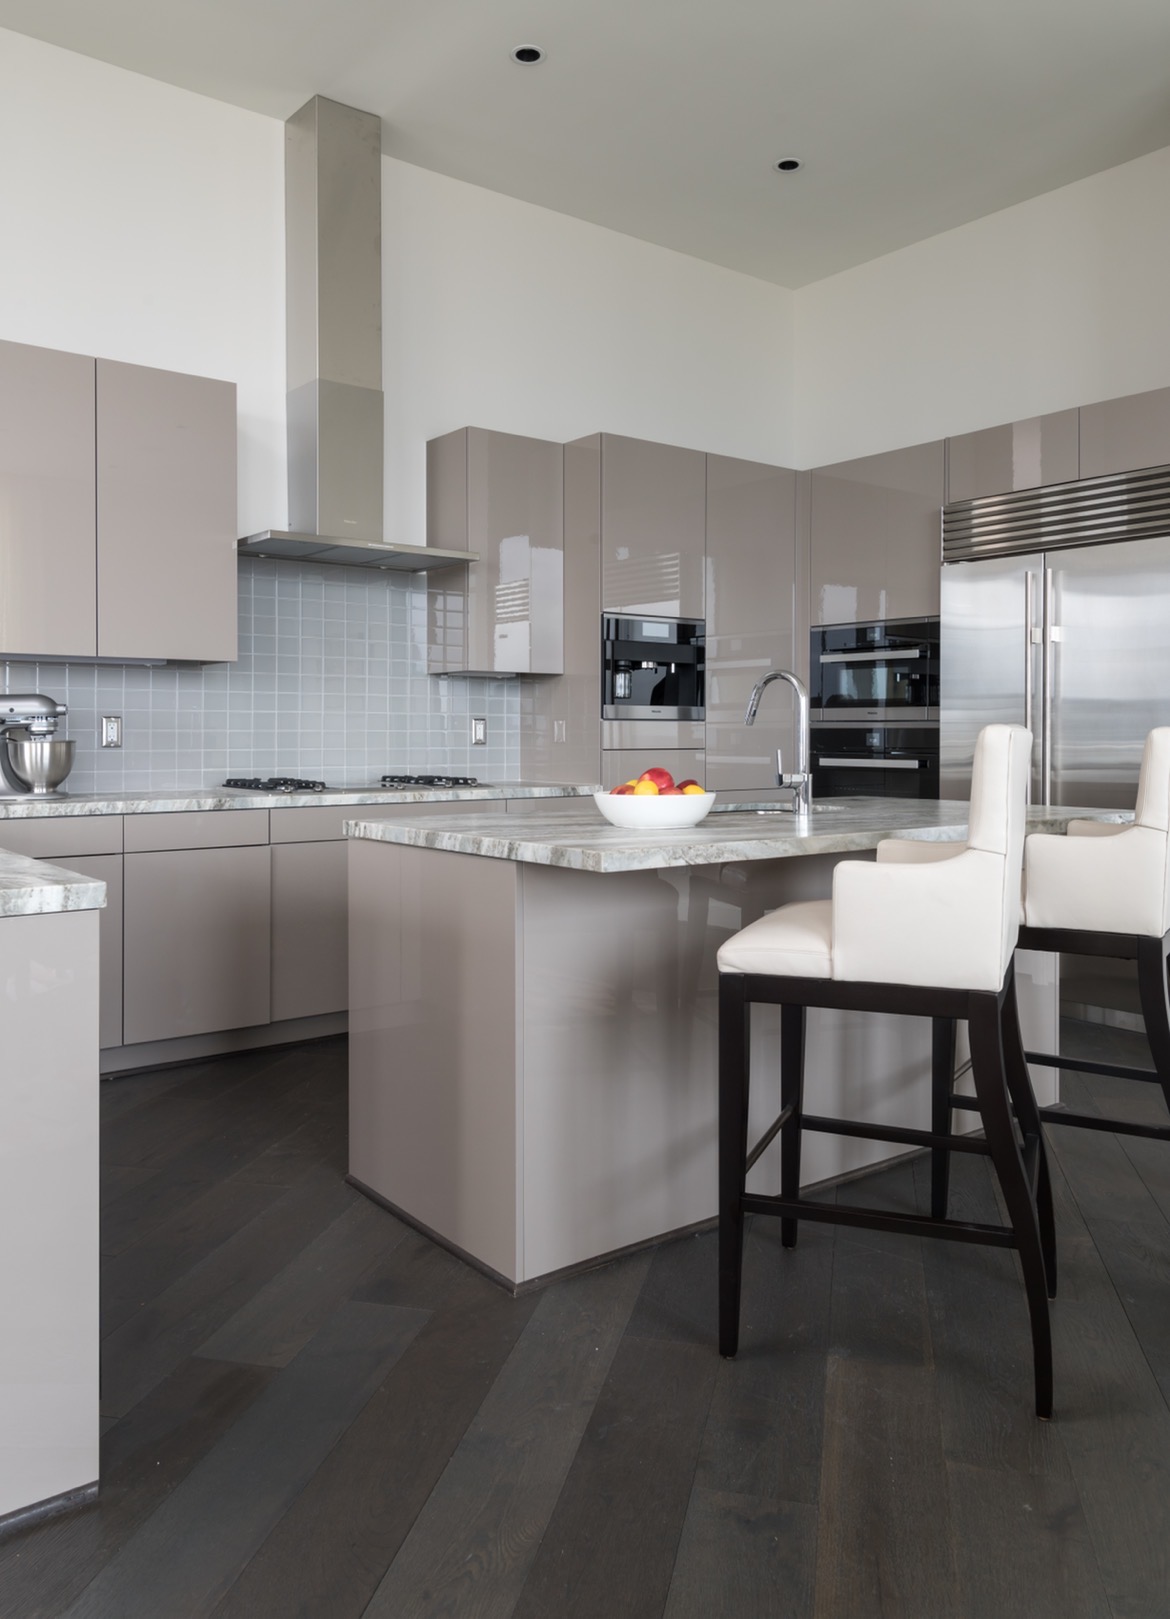
3. Flat or Flush Front
Ideal for showcasing bold colors in contemporary settings. You can choose laminate for a glossy look or paint a bold color on wood for a true statement. In the picture below, we chose a neutral high gloss for the cabinets to accentuate the neutral palette throughout the home.
4. More Detail
For a softer, more elegant look, you can do a variety of raised panels and trims. In this bathroom, we chose a sophisticated look. It’s so perfect for the space.


Color
Choosing the right color for your cabinets can seem like an impossible task as there are so many beautiful shades out there to choose from. Whether you want to go for a classic white or think outside of the box, there are plenty of options you should feel great about choosing.
The key to a lovely cabinet is the prep work is the starting prep work. We always wash the cabinets with a degreaser first. Then sand them before the first coat of an oil-based primer. We let that dry for a day or two. I prefer to have existing cabinets sprayed so the brush strokes don’t show through. Use an oil-based paint for better durability. For darker colors, you’ll need more coats to cover the cabinets. Typically, I specify a semi-gloss finish as it is more durable and not too shiny, but a high-gloss finish can be divine for a more dramatic, elegant look in a very modern kitchen. For a more casual look, go for a flat enamel sheen. It’s a softer look.
So your cabinets don’t feel too blank, have fun with your hardware and let it warm up the room a bit. My current favorites are the clean-lined brass versions. Wait several days for your paint to cure before installing the hardware.
Below are a few of our paint favorites:
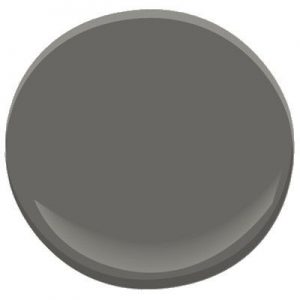
1. Benjamin Moore Kendall Charcoal (HC-166)
This saturated warm gray leans toward a green but works well in kitchens and bathrooms.
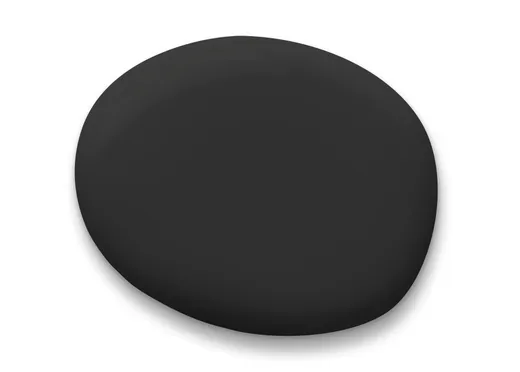
2. Sherwin-Williams Caviar (SW 6990)
Choosing a black with depth can be a bit challenging, but we’re leaning toward Caviar as the perfect black/brown for kitchen cabinets.
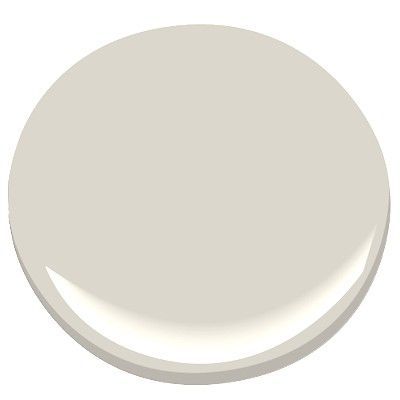
3. Benjamin Moore Balboa Mist (OC-27)
This beautiful light gray paint is one of those paint shades that look beautiful in almost any setting. It breathes an air of sophistication and appeals to any space.
4. Benjamin Moore Old Navy 2063-10
This elegant deep blue leans toward classic navy–an impactful blue that looks great when paired w/a a lighter quartz countertop.
5. Benjamin Moore Simply White (OC-117)
This paint is a lovely creamy color that looks great with many different quartz and marble countertops and is clean, simple, and not too bright.
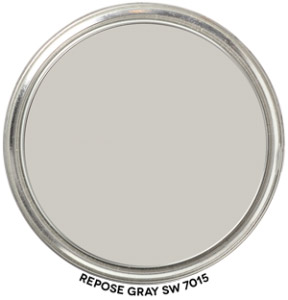
6. Sherwin-Williams Repose Gray (SW 7015)
A go-to neutral that’s not too gray or too beige.
Benjamin Moore Kendall Charcoal
Sherwin-Williams Caviar
Benjamin Moore Balboa Mist
Benjamin Moore Old Navy

Benjamin Moore Simply White

Sherwin-Williams Repose Gray
Putting It Into Practice
Unless, of course, you know everything there is to know before each endeavor. Here are 5 tips you should know before giving your kitchen cabinets a fresh coat of paint.
1. Bring in the Big Dogs
Though we all love a good DIY project, it’s better in this case to hire a professional with prior experience with kitchen cabinets, you can be the supervisor for once and let them work their magic.
2. Not All Paint is Created Equal
Some paints are more durable than others, and with the kitchen being one of the most used spaces in a home, it’s important that the paint you choose stands the test of time. Ensure that the paint is rated for trim or trim enamel. For a safer, more odor-free option, go for water-based acrylic paint.
3. Prep is Major Key
Grab a gentle all-purpose cleaner and clean the cabinets to remove any grease and grime. Next, you’ll want to put painter’s plastic over everything- and I mean EVERYTHING you don’t want to get paint on, including the places the sun doesn’t shine (i.e. the inside of the cabinets).
4. Shampoo, Rinse, & Repeat
Like achieving salon-quality hair, except for cabinets! Sanding will ensure that the primer adheres well to the cabinets, giving you a smoother canvas for when it’s time to start applying paint. Follow this step with any repairs or patching that needs to be done, then, you guessed it, rinse (sand) and repeat (apply another coat of primer)!
5. More is More, and Less is Less
It could require up to four coats of paint to get the cabinets looking just right. Have tack cloths on hand to collect any stray particles that may find their way onto the cabinets in between coats. For a smoother look, use a sprayer to apply the paint. And it goes without saying, don’t touch the wet paint. Give it at least a week to cure before putting things back in their home and resuming your normal business in the kitchen.


Happy kitchen transformation!! If you ever feel stumped, give us a call. The Coton House design team is happy to transform your space with new cabinets or even a new look!